Quick Start Guide for WooCommerce on Cloudways in 7 Easy Steps
Introduce Cloudways
Cloudways stands as a cloud hosting hub, presenting an interface that’s effortlessly user-friendly, complete with managed hosting and performance optimization attributes. Within its realm, caching, seamless CDN integration, and unwavering 24/7 support are at your service. Renowned for its remarkable scalability, Cloudways seamlessly integrates with revered tools and services, ensuring a streamlined workflow. Today, take the plunge into Cloudways to propel your online store to greater heights!


Quick Start Guide for WooCommerce on Cloudways in 7 Easy Steps
If your aspiration is to kickstart an online store using WooCommerce, your initial stride involves selecting a hosting partner capable of accommodating your website’s demands. Enter Cloudways, a cloud hosting hub designed to simplify the process of launching and overseeing WooCommerce websites.


Now, let’s delve into a concise roadmap for initiating your WooCommerce journey on the Cloudways platform:
Step 1: Sign up for a Cloudways account and choose your preferred cloud provider.
Are you looking to start an online store with WooCommerce? Choosing the right hosting provider is essential for the success of your website, and Cloudways is a great option to consider. In this blog post, we will walk you through the process of signing up for a Cloudways account so you can get started with your WooCommerce store.
Go to the Cloudways website
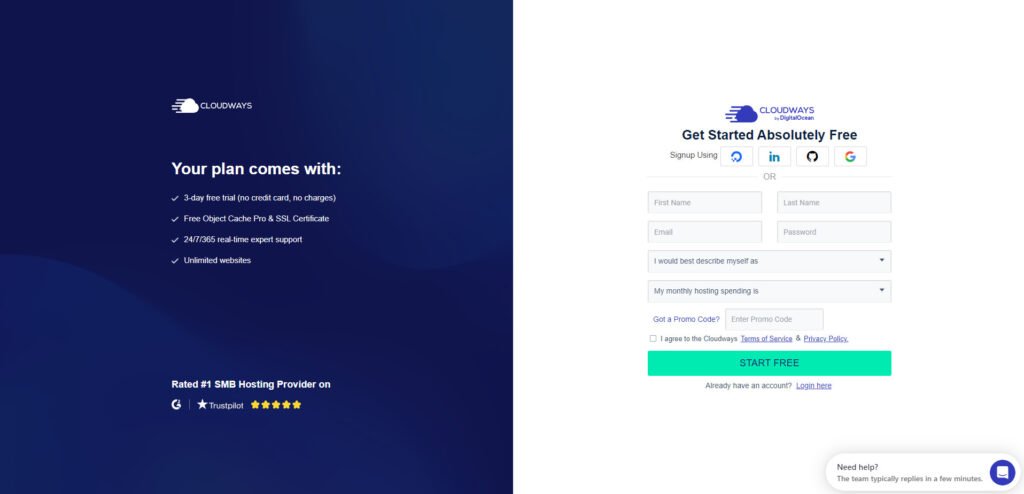
The first step is to go to the Cloudways website (https://www.cloudways.com). Click on the “Start Free” button in the top right corner of the page.
Create your account
Next, you will be taken to a page where you can Create Your Cloudways Account. You can sign up using your email address or your social media accounts, such as Google or LinkedIn.


Choose your cloud provider
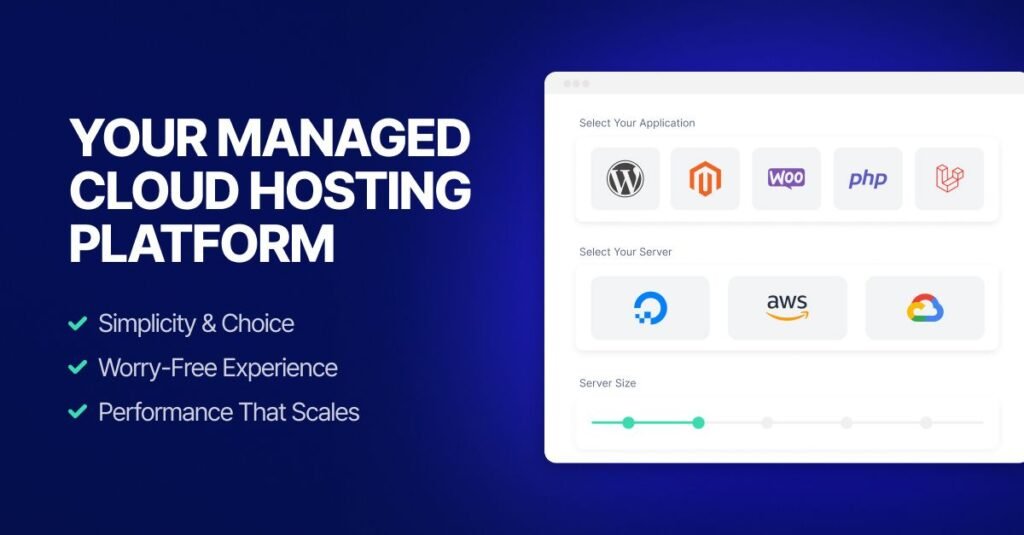
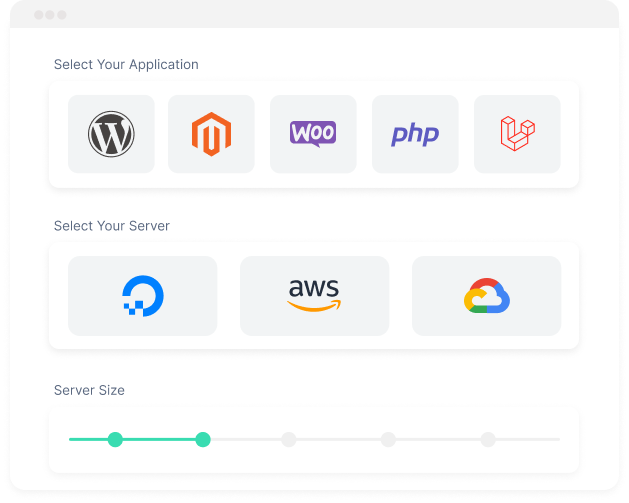
After creating your account, you will be asked to choose your preferred cloud provider. Cloudways offers a range of options, including Amazon Web Services, Google Cloud Platform, DigitalOcean, and more. Choose the provider that best fits your needs and budget.
Select your server size and location
Once you have chosen your cloud provider, you will need to select your server size and location. This will depend on the size and needs of your website. Cloudways offers a range of options, so you can choose the one that best fits your needs.
Step 2: Initiate a Fresh Server and Opt for WooCommerce as Your Chosen Application.
Launch a new server
After selecting your cloud provider, click on the “Launch” button to launch a new server. You will be prompted to choose your server size, location, and other settings. Make sure to choose the settings that best fit your needs and budget.
Select WooCommerce as your application
Select WooCommerce as your application: After launching your server, click on the “Applications” tab and select “WooCommerce” from the list of available applications.


Step 3: Tailor Your Server Configuration, Including Server Size and Geographical Placement, to Suit Your Requirements.
Configure your server settings
Upon opting for WooCommerce as your chosen application, the next course of action involves fine-tuning your server settings. This entails tasks such as installing WordPress, arranging your domain name, and orchestrating your database. Cloudways takes pride in its user-friendly interface, rendering the configuration of these settings a hassle-free endeavor.
Personalize Your Store Configuration: Following the adjustment of your server settings, you’re poised to embark on the journey of customizing your store’s specifications. This encompasses establishing your payment and shipping preferences, handpicking a theme, and infusing your website’s design with your unique touch.
Step 4: Deploy WordPress and WooCommerce onto your server.
Now that you have WordPress installed, you can install WooCommerce. To do this, go to your WordPress dashboard and navigate to “Plugins” > “Add New.” Search for “WooCommerce” and click on “Install Now.” Once WooCommerce is installed, click on “Activate” to activate the plugin.


Step 5: Set up your store configurations, encompassing choices for payment and shipping methods.
With WooCommerce installed, you can now configure your store settings, such as your payment and shipping options. You can do this by navigating to “WooCommerce” > “Settings” in your WordPress dashboard. Here, you’ll be able to customize your store settings to fit your needs.
Step 6: Opt for a theme and personalize the design of your website according to your preferences.
Once you’ve configured your store settings, you can choose a theme and customize your website’s design. You can do this by navigating to “Appearance” > “Themes” in your WordPress dashboard. Choose a theme that fits your brand and customize it to your liking.
Step 7: Integrate your products and commence your selling journey!
With your website established and store configurations set in place, you’re now poised to introduce your products and embark on the journey of sales. To initiate the addition of a new product, navigate to “Products” > “Add New” within your WordPress dashboard. Here, you’ll find the avenue to input crucial product particulars, including its name, description, and price.
In summary, the process of installing WordPress and WooCommerce on your Cloudways server proves to be an uncomplicated and direct undertaking. Empowered by Cloudways’ intuitive interface and proficient hosting services, you can swiftly and effortlessly bring your online store to life. Why delay any further? Seize the opportunity to register for a Cloudways account today and commence the construction of your online store using WordPress and WooCommerce!
Several other advantages arise from harnessing the synergy between Cloudways and WooCommerce.
Utilizing Cloudways in conjunction with WooCommerce provides a spectrum of advantages.
One pivotal advantage is Cloudways’ inclusion of managed hosting for your WooCommerce store. This entails the platform handling server maintenance and updates, enabling you to channel your efforts towards store management and business expansion.
Cloudways extends an array of features aimed at enhancing the performance of your WooCommerce website, such as caching and seamless CDN integration. This leads to optimized website speed, reduced load times, and ultimately, an enriched user experience and heightened conversion rates.
In essence, selecting Cloudways for your WooCommerce venture can prove instrumental in crafting a successful online store. The amalgamation of a user-friendly interface, robust features, and managed hosting expedites the process of launching your online store.
Another notable advantage is Cloudways’ innate scalability. As your business flourishes and website traffic surges, the platform enables easy scalability of server resources to accommodate heightened demand.
Furthermore, Cloudways ensures round-the-clock support to address any queries or concerns that may arise. The support team is not only well-versed but also swift in their responses, ensuring prompt and efficient assistance.
Additionally, Cloudways offers a diverse range of integrations with prevalent tools and services, encompassing payment gateways and marketing platforms. This integration prowess facilitates a streamlined workflow, catalyzing business growth.
In summation, Cloudways emerges as a prime choice for those embarking on a WooCommerce-powered online store. Its amalgamation of user-friendly navigation, managed hosting, performance optimization tools, scalability, and dependable support positions it as an efficient and reliable platform to drive your business endeavors.
Embark on this journey by signing up for Cloudways today and commence the construction of your WooCommerce store!


